
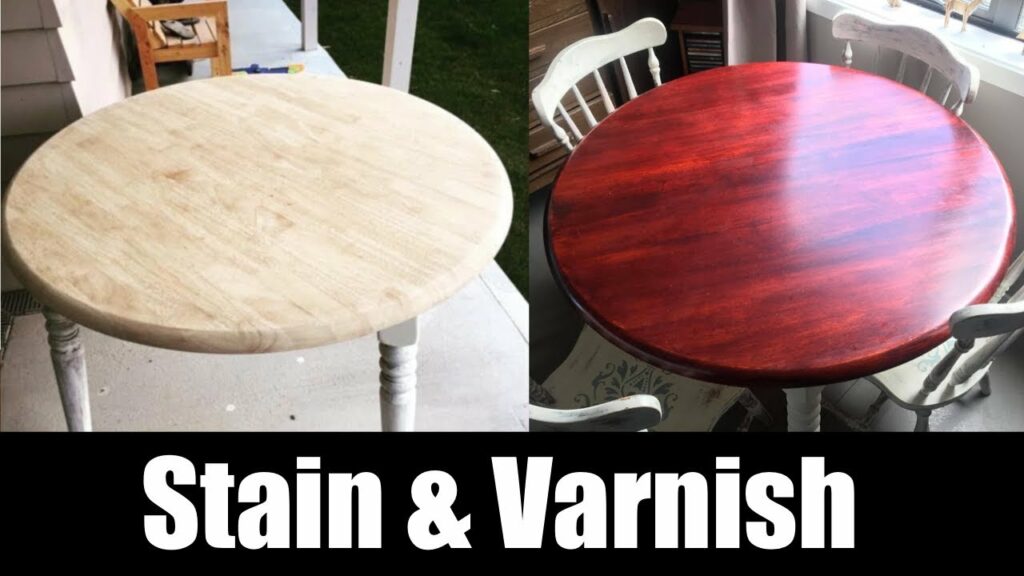
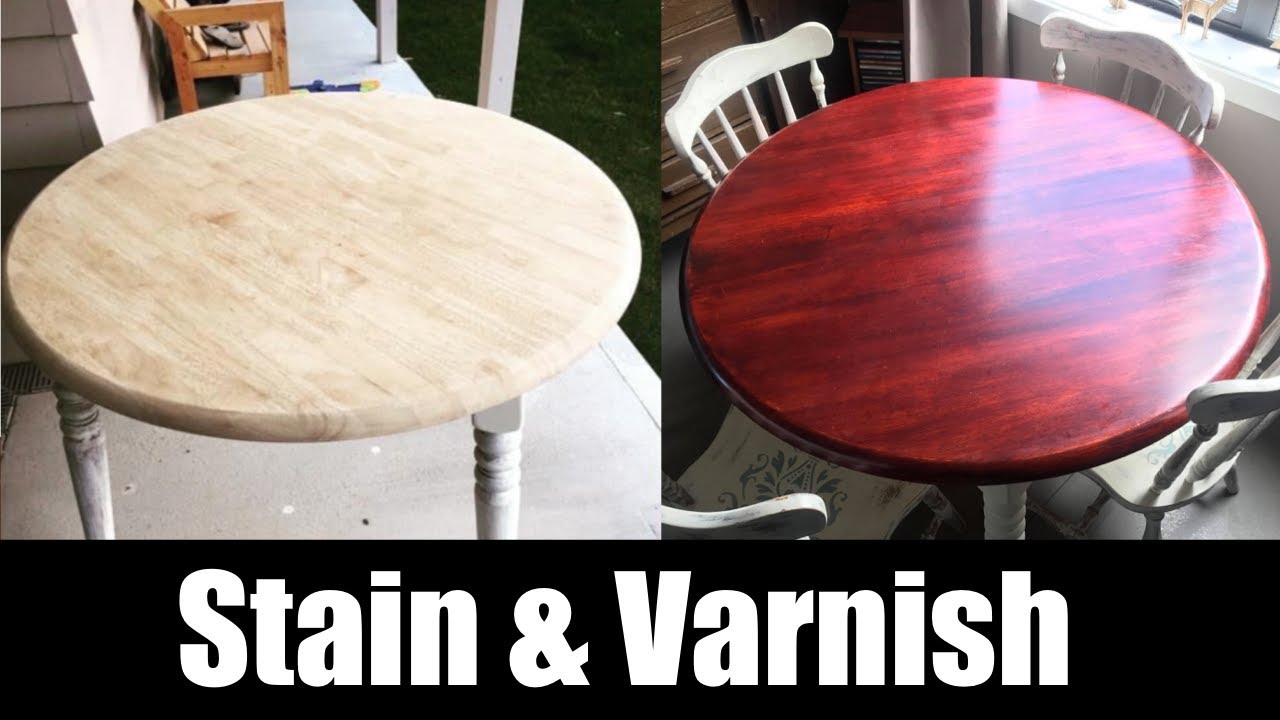
Wood stain can enhance the appearance of a wood table. Unfortunately, it cannot protect the table from spills and abrasion scars. To prolong the life of the wood, finish the table with a clear polyurethane varnish. Employ the proper application technique, or you’re likely to end up with a sagging finish marred with unsightly runs.
Essential Items
- Canvas drop cloths
- Tack cloths
- Solvent-based polyurethane varnish
- Wooden stirring stick
- 3-inch natural-bristled paintbrush
- 300-grit sandpaper
Step 1
Set the table on top of a thick canvas drop cloth. Don’t use a cheap polypropylene plastic drop cloth.
Step 2
Wipe the table with sticky tack cloths to prevent dust particles from interfering with varnish adhesion.
Step 3
Open the can of solvent-based polyurethane varnish and stir the contents for at least three minutes.
Step 4
Apply varnish to the table, using a 3-inch natural-bristled paintbrush. Apply only a thin coat and apply very light pressure with the brush, or the finish will likely dry flawed.
Step 5
Let the table dry for at least three hours. Lightly sand the wood with a very fine, 300-grit sandpaper.
Step 6
Wipe the table with tack cloths. Add a second coat of varnish. Let the finished table dry for at least three hours.
Warnings
Don’t use a water-based polyurethane on a stained table, or flaking may result. You may use a water-based polyurethane varnish on bare wood tables.
When amateurs try to varnish a wood table, sagging tends to result. For best results, apply two thins coats rather than a single, thick coat.